


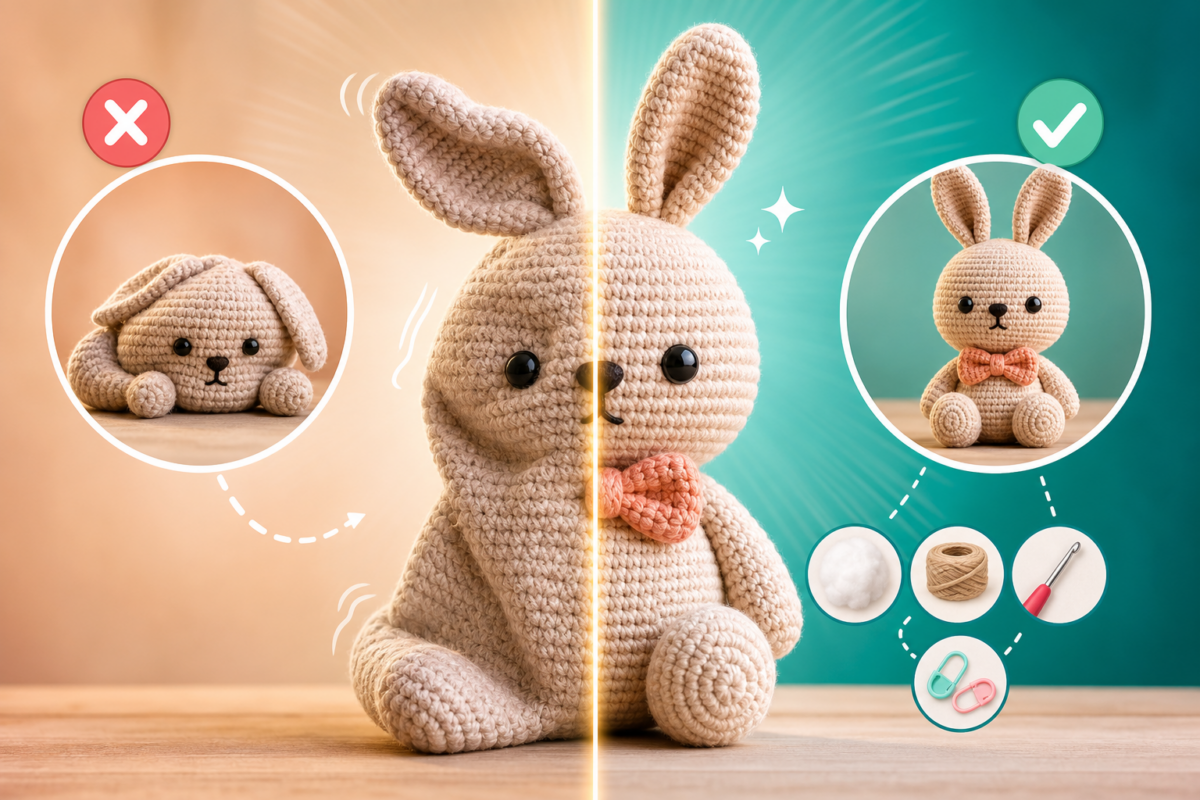
There’s a particular frustration that comes from spending hours making a cheerful amigurumi animal, only to watch it sag or lose its shape after just a few weeks. That proud bunny or sturdy dinosaur might look perfect at first, but then the head starts to tilt or the limbs droop, and the stuffing shifts out of place.
I’ve been through this myself—thinking that “tight stitches and lots of stuffing” would do the trick, only to see my creations become floppy or lopsided over time.
To keep amigurumi from losing its shape, crochet the magic ring and first several rounds as tightly as possible, use a smaller hook with plush yarns, and add stuffing gradually and firmly as you go. Add a weighted base, and finish with blocking to help toys stay upright and looking fresh, even after being washed.
With the right process, you can keep your amigurumi’s shape, balance, and cuteness for years.
If you want your amigurumi to look just as good on day 100 as it did the day you finished, you need more than just tight tension. Laying a solid foundation, picking the best tools, and finishing with care all matter. Here’s what actually keeps those toys firm and upright, and how you can fix the most common shape problems.
Why Does a Tight Start Matter So Much for Amigurumi?
The first rounds you crochet are more important than most people think. If your magic ring or first rows are loose, the stuffing can shift and the stitches stretch out, leaving you with a toy that quickly goes limp. Working the magic ring and first three or four rounds as tightly as you can creates a dense base that holds the stuffing and keeps its shape.
Tight starting stitches mean the head and body stay round—crucial for toys with large heads or skinny necks. Gravity will pull a loosely crocheted head down fast. If you notice gaps between stitches or see stuffing poking through, it’s a sign to tighten up.
From my own projects, I’ve learned that adding a little extra tension in those early rounds makes a big difference between a toy that stands tall and one that flops. If your fingers feel a bit tired after finishing the magic ring, you’re on the right track. After that, you can relax your grip a bit, but a firm foundation is what makes everything work.
Does Hook Size Really Affect Amigurumi Shape?
Many patterns recommend a certain hook size, but when it comes to amigurumi—especially with plush or chenille yarns—that advice doesn’t always work. Plush yarns are soft but stretch easily if your stitches aren’t tight enough. That’s when going down a hook size pays off.
Try using a hook one or two sizes smaller than what your yarn label suggests. If the yarn says to use a 4.0 mm hook, try a 3.0 mm or even 2.5 mm. Your stitches should be close enough that you need to give the hook a gentle push, but not so tight that it’s a struggle to crochet.
Dica importante: With plush yarn, a hook that’s too big leads to saggy toys with loose shapes. Always crochet a quick swatch—if you can see light shining between the stitches when you stretch them, go down another size.
The right hook size not only keeps the stuffing inside but also helps your toys keep their shape. Don’t be afraid to test different sizes—a slightly smaller hook can make your amigurumi look much more finished.
How Should You Stuff Amigurumi to Keep Its Shape?
Stuffing is where most shape problems start. If you add too much, too little, all at once, or in the wrong spots, you can end up with a crooked head or uneven body. The best approach is slow and steady, not a rush at the end.
Start adding stuffing when your piece is about two-thirds finished, not after you’ve finished crocheting. Use small, walnut-sized pieces of fiberfill, and push each one all the way to the far edge before adding more.
This helps keep the stuffing even, especially in tricky spots like snouts, ears, or feet. The back end of a crochet hook or a chopstick is great for getting stuffing into tight spaces.
For the head, aim for a firmness like a slightly under-inflated tennis ball—your thumb should press in a little and bounce back. The body should be solid but a bit softer, and limbs can be lightly stuffed to stay flexible. If you add too much, the stitches will stretch and the stuffing will show, so check as you go and remove any extra if needed.
Resumo rápido: Heads should be very firm, bodies a bit softer but still solid, and arms and legs lightly stuffed for flexibility. Add stuffing gradually as you work, not all at the end.
When you finish, roll the toy between your palms to smooth out lumps and even the shape. This quick step really helps give the head a round, balanced look.
How Do You Make Amigurumi Sit Up and Hold Its Shape?
It’s always disappointing when a finished amigurumi won’t sit or stand, no matter how you try to pose it. The trick to a toy that stays upright is to add weight at the bottom and assemble all the parts carefully.
Before closing up the base, tuck in a small pouch filled with poly-pellets or glass beads. Sew the pouch from some scrap fabric and place it in the bottom of the body or base. This added weight helps the toy sit straight on a shelf or bed and keeps it from toppling over.
How you assemble the parts matters too. Attach heads and limbs with the same tightness as the body and try to sew them on evenly. If your toy has a large head, reinforce the neck with extra rounds or stuff that area more firmly.
Weighted bottoms work for both large and small toys. Even smaller amigurumi benefit, especially if they need to stand or sit on their own. It’s a small detail that can really change how your project holds its pose.
Can Blocking Really Help Amigurumi Stay in Shape?
Blocking isn’t just for flat pieces like scarves. It’s a great way to fix lopsided toys, set the final shape, and give your amigurumi a finished look. If your toy comes out with a crooked head or uneven body, blocking can help.
If you used acrylic yarn, steam blocking is best. Pin the toy into the shape you want on a towel, then hold a steamer or steam iron 2–3 inches above for 10–15 seconds—don’t let it touch. Let the toy cool while it’s still pinned, and the new shape will hold.
With cotton or wool, soaking works better. Let the toy soak in water for about 10–15 minutes, gently press out the water (don’t wring), pin it into the right shape, and air dry for up to 24 hours. For lighter touch-ups, you can mist the toy with a spray bottle before pinning and drying.
In my experience, blocking fixes uneven heads and limbs, especially after sewing everything together. Let the toy dry completely before you move it again. It’s a step even experienced crocheters sometimes skip, but it really makes a difference in the final result.
How Can You Wash Amigurumi Without Making It Sag?
Every amigurumi will need a wash eventually, especially if it gets hugged a lot. But even the best-shaped toy can lose firmness if you wash it the wrong way. The key is to treat both washing and drying gently.
For small stains, spot-clean with a damp cloth and mild soap. If you need to wash the whole toy, put it in a laundry bag, use a delicate cycle with cold water and mild detergent. Not all yarns and fillings can handle machine washing, so check your materials first.
Don’t twist or wring out the toy after washing. Press it gently between towels to remove water, then reshape the head, limbs, and body by hand. Lay the toy flat to dry away from sunlight, since sun can fade colors and weaken fibers.
If the stuffing shifts, roll the toy between your palms once it’s mostly dry to even things out. For storage, keep amigurumi away from heavy objects, moisture, and direct sunlight—they’ll stay cuter for longer.
How to Fix a Floppy or Sagging Amigurumi
If you’re looking at a droopy or sagging amigurumi, don’t panic—you can still fix it. Open a seam, add more stuffing in small amounts, and close it up again with tight stitches. For toys that won’t sit up, try adding a weighted pouch to the bottom, then block it to restore its shape.
What’s the trickiest shape problem you’ve run into with your amigurumi? Do you have a favorite fix for toys that start to lose their firmness?
Disclaimer: This article is for informational purposes only and does not replace professional advice for specialty or collectible crochet items.