


You zone out with the rhythm of your yarn and hook, feeling good about your progress—until you spot a glaring error several rows back. That sinking feeling hits hard.
All that effort, and now the thought of pulling everything apart feels overwhelming. But honestly, you can fix most crochet mistakes without unraveling the whole thing or losing hours of work.
To solve most problems, mark the error with a stitch marker, undo only the stitches needed to reach the spot, secure your live loop, and pick up where you left off. For small glitches like a dropped loop or a single stitch gone wrong, tricks like duplicate stitch or carefully pulling the loop back up can save your project without having to tear out row after row.
Once you know these fixes, crochet gets a lot less intimidating. You can relax and enjoy the process, confident that a small misstep won’t force you to start over.
If you need to fix a mistake without undoing everything, start by finding the exact spot where things went wrong and mark it with a stitch marker. This keeps you from losing your place or undoing more stitches than necessary. The marker stands out, so even if you step away and come back later, you’ll know exactly where to focus.
Rather than pulling out rows in a rush, undo one stitch at a time until you reach the mistake. This keeps the rest of your work safe and gives you more control. It may seem slower at first, but it’s much faster than reworking big sections.
When you reach the mistake, secure the live loop—the last active loop on your hook—with a locking stitch marker or a safety pin. This prevents your project from unraveling further while you work on the fix. Once the loop is safe, just reinsert your hook, repair the stitch, and keep going without having to redo everything you’ve already crocheted.
Dica importante: Always secure the live loop if you need to pause, even for a minute. That one step can save you from watching your hard work unravel with a careless tug.
This method lets you handle local mistakes quickly and get back on track. Usually, a few minutes of careful attention is all it takes to undo the error and keep your project moving forward.
If you crochet a lot, you probably notice the same types of mistakes cropping up. Most errors—about 70%—come from three sources: miscounted stitches, changes in yarn tension, or missing the first or last stitch in a row. Usually, you don’t spot them until they throw off your pattern.
Counting stitches can be surprisingly tricky, especially with repetitive designs or distractions in the background. A single stitch off can change the shape of your entire project. I like to place a marker every 10 or 20 stitches—it’s a small habit that pays off by making mistakes easy to spot before they get out of hand.
Tension is another sneaky troublemaker. On days when I’m tired or distracted, my stitches sometimes get tighter or looser.
I make it a habit to pause every so often and check if everything looks even. If I see an area getting off track, I stop and adjust before things get worse.
Missing the first or last stitch in a row is the third usual suspect, especially for blankets or wider pieces. Marking these spots with a locking marker makes checking your work much quicker. If you’re starting out, double-checking the start and end of each row helps avoid those frustrating surprises at the end.
Building in these habits makes crochet a lot more relaxing. You sidestep most issues before they grow into real problems.
How Can You Fix a Dropped Loop Without Frogging?
A dropped loop working its way down your crochet project looks scarier than it is. Thankfully, you don’t need to frog everything to fix it. Just pull the loop back up, step by step, using your crochet hook or a tapestry needle if you’re working with fine yarn.
The minute you notice a dropped loop, stop and see how far it’s traveled. Put your hook through the last secure stitch before the drop.
Then, find the end of the loose loop and “walk” it back up, passing through each horizontal bar it slipped behind—almost like climbing a ladder. Take your time, gently feeding the loop upward, matching the path it originally took.
A tapestry needle can help for smaller, tighter stitches where a hook might stretch things out. Sometimes I switch back and forth between needle and hook, depending on the yarn and stitch. The key is patience—make sure each “rung” goes back in place so the fix disappears into your work.
Resumo rápido: When pulling up a dropped loop, go slow and check your progress every step of the way. Rushing almost always leaves a visible repair, but a few careful minutes make all the difference.
I’ve used this approach to rescue projects on the road or at meetups, where starting over wasn’t an option. With a bit of practice, it becomes second nature, and no one ever knows there was a mistake.
Can You Fix the Wrong Stitch Without Undoing Rows?
Not every mistake means you need to redo entire rows. If you accidentally made a single crochet instead of a double, or used the wrong color for one stitch, there’s a creative fix: duplicate stitch.
With duplicate stitch, you thread a tapestry needle with matching yarn and embroider over the mistake, recreating the stitch that should have been there. The error gets hidden, and your repair blends right in with the rest. This is especially handy for small, isolated mistakes that don’t affect the structure of your piece.
If you find a problem that changes the shape or structure—like a missed increase or decrease—you’ll have to frog back to that point. But for visual slip-ups, duplicate stitch is fast and nearly invisible.
I’ve finished baby blankets and only noticed a color error at the end. Rather than undoing hours of work, I fixed it in minutes with duplicate stitch, and the result looked seamless.
Dica importante: Try duplicate stitch on a scrap piece of fabric first. That way, you can match the tension and color before touching your main project.
Knowing the right time for each fix saves tons of frustration and lets you recover from most mistakes with hardly any lost time.
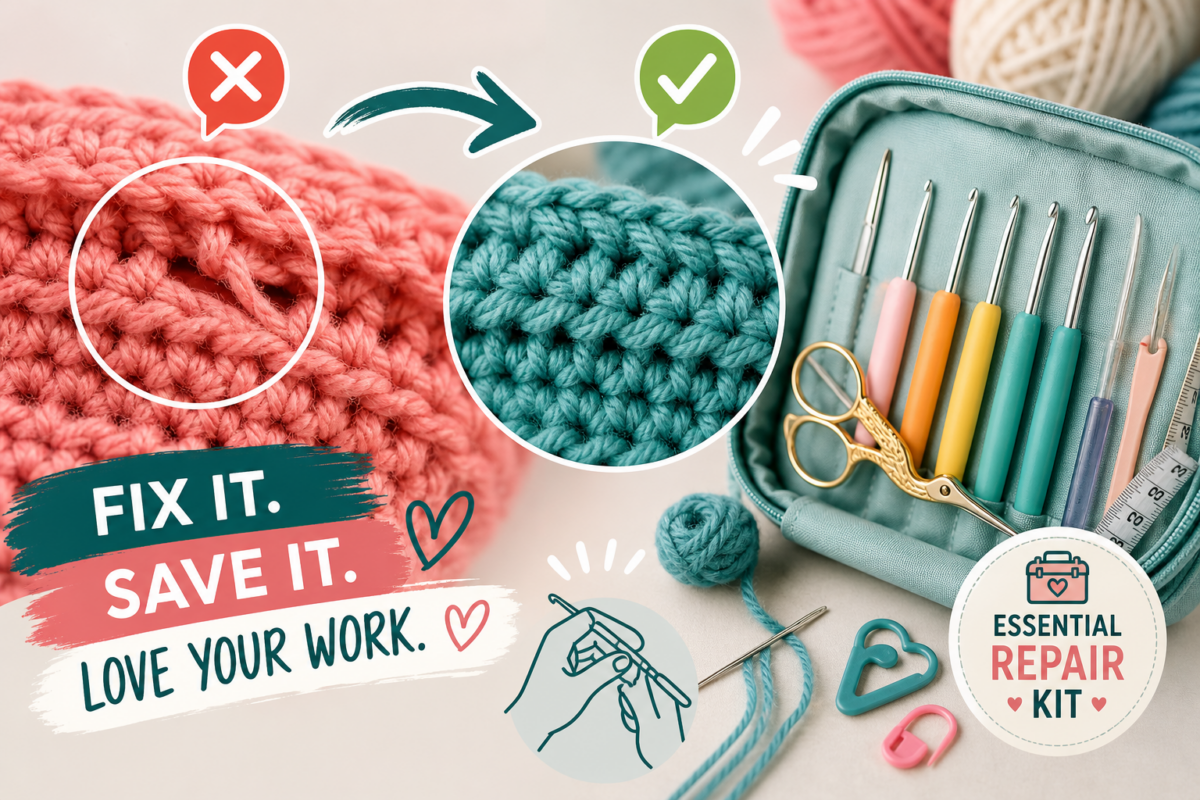
Having a basic repair kit ready transforms how you handle crochet mishaps. The essentials fit into any project bag: tapestry needle, locking stitch markers, a bit of matching yarn, and sharp scissors.
The tapestry needle is your go-to for pulling up loops, duplicate stitch, and adding quick finishing touches. Locking markers come in handy for everything from marking trouble spots to securing the live loop during a repair. I keep several markers around, especially for larger projects, so I can divide sections or flag errors as I go.
Spare matching yarn is important for visual fixes. A lot of repairs are tiny, but if the color or texture is off, the fix will stand out. Good scissors are the finishing touch—clean cuts make weaving in ends easier and keep repairs tidy.
I stash this kit in a small pouch with my current project, so I’m ready for surprises. I’ve even fixed mistakes mid-flight or during a road trip thanks to having everything on hand.
Dica importante: Double-check your kit before you start something new. Markers and needles have a way of vanishing, and nothing’s more annoying than hunting for a tool when you need to fix something quickly.
When you’re prepared, most mistakes are no big deal—you can fix them as soon as they happen.
Everybody makes mistakes in crochet, no matter how much experience you have. The real difference is how you handle them.
With the right fixes and a small repair kit, most problems take just a few minutes to solve—no need to start over or lose your progress. Have you ever had to rescue a project from a mid-crochet disaster?
Which of these repair tricks are you most excited to try next time something goes off the rails?
Disclaimer: These crochet repair tips are based on hands-on experience and do not replace professional advice for structural or specialty projects.