
Making a baby quilt is a rewarding and creative activity that involves combining fabrics, quilting and sewing. A quilt is a patchwork quilt that can be used as a blanket or decorative piece for your baby’s crib. In this step-by-step guide, you’ll learn how to make a baby quilt.
Necessary materials:
Cotton fabrics in different prints and colors
Acrylic blanket or quilt stuffing
Sewing threads
Scissors
Ruler
Sewing machine (optional)
Sewing needle
safety pins
Step 1: Planning
Decide on your desired size for the baby quilt. A common measurement is about 90 cm x 120 cm. Choose cotton fabrics in colors and prints that match the baby’s room decor or that reflect your personality.
Step 2: Cut the fabrics
With the scissors and ruler, cut the fabrics into squares or rectangles of the desired size for your baby quilt. Remember to include a seam allowance of approximately 1.5 cm on each side. Cut as many squares or rectangles as needed to create the desired quilt size.
Step 3: Organizing the fabrics
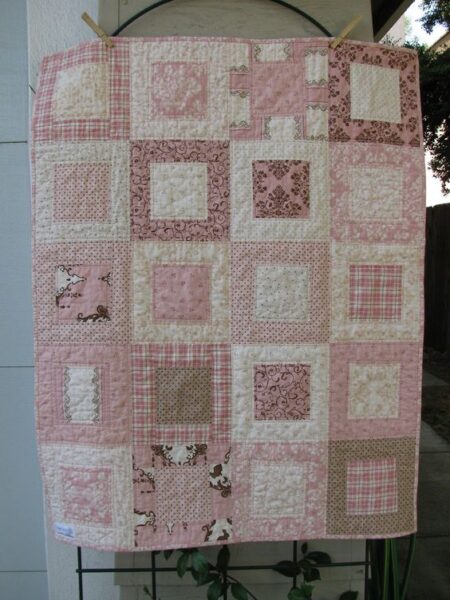
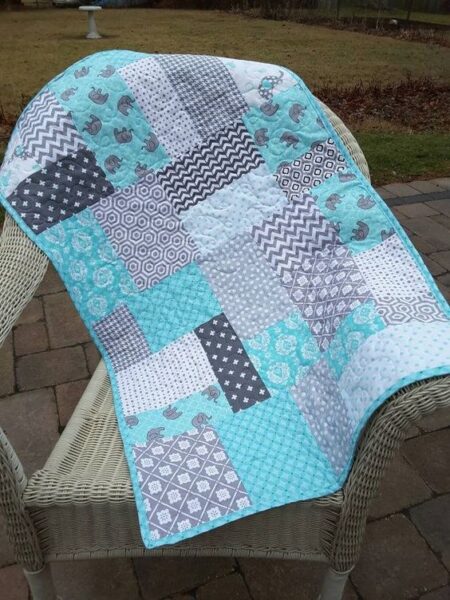
Arrange the fabric scraps on a flat surface, such as a table or floor. Experiment with different arrangements to create an attractive pattern. A popular option is patchwork, which combines different block prints.
Step 4: Assembly
Start assembling the quilt, placing the fabric scraps in the desired order. Align the edges and pin the fabrics together to keep them in place. Be sure to keep a consistent seam allowance on all sides.
Step 5: Sewing
With a sewing machine or needle and thread, sew the pieces of fabric together, following the lines of pins. Remove the pins as you proceed with sewing. Be sure to leave an opening of about 10 cm on one side to later turn the quilt inside out.
Step 6: Padding
Place the acrylic blanket or quilt padding over the back of the assembled quilt. Cut it to the appropriate size to fit the quilt. Secure it with safety pins to keep it in place. Now, it’s time to quilt.
You can choose from different quilting options, such as sewing straight stitches around the blocks, sewing zigzag lines, or even creating a more complex stitch pattern. If you choose to machine-quilt, be sure to follow a consistent pattern throughout the quilt.
Step 7: Finalization
After quilting the entire quilt, fold the edge of the opening inward and hand-stitch using blind stitches. Then, after sewing the opening, your baby quilt is almost ready. However, you can add some optional finishing touches to make it even more special.
Step 8: Finishes
For a more professional finish, you can add a border or bias around the quilt. This will help seal the edges and add a nice finishing touch. You can buy ready-made bias or make your own using additional fabric. Follow the specific instructions for applying the bias around the edge of the quilt.
Step 9: Wash and iron
Before using the baby quilt, it is recommended to wash it to remove any dirt or manufacturing residue. Follow the washing instructions for the fabric used. After washing, you can iron the quilt to smooth out any wrinkles and ensure a flawless finish.
Step 10: Enjoy the baby quilt!
Now that your baby quilt is complete, it’s time to enjoy the result of your work. Use it to rock your baby tenderly, as a quilt in the crib or even as a decorative piece for the room. A baby quilt can also make a meaningful, personalized gift for friends or family who are expecting a baby.
Remember that the baby quilt is a unique handcrafted piece, made with love and dedication. Enjoy every stitch and piece that makes up this special creation. Each time you wrap your baby in this quilt, you’ll remember the hours that went into making it and the love that went into every detail.
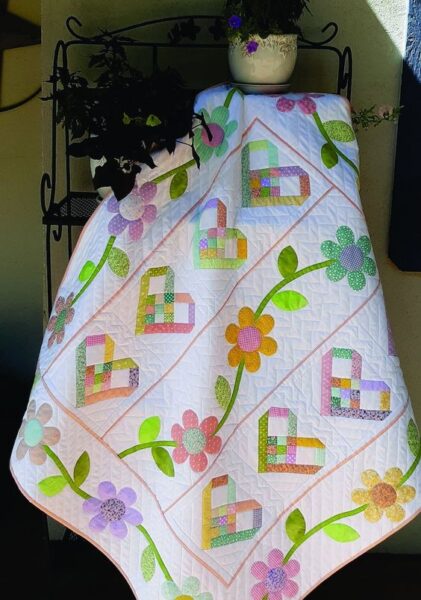
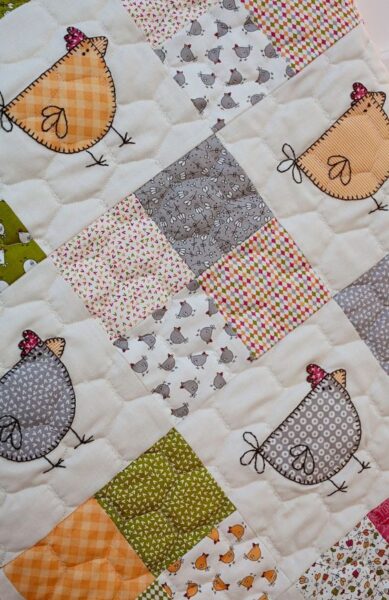
Creating a baby quilt can be a fun and relaxing activity. As you gain experience, you can try more advanced techniques like appliqués or custom embroidery. The most important thing is to have fun during the creation process and create a piece that brings comfort and joy to the baby and the family.
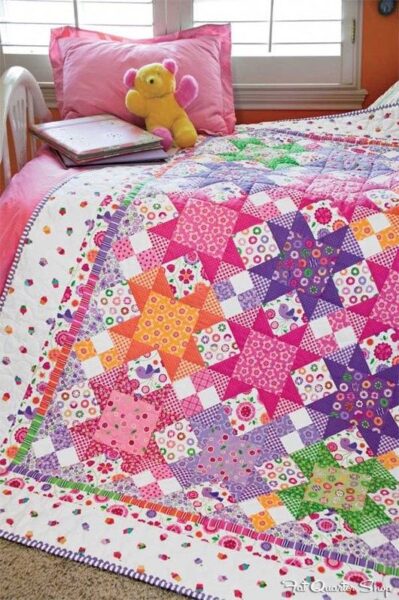
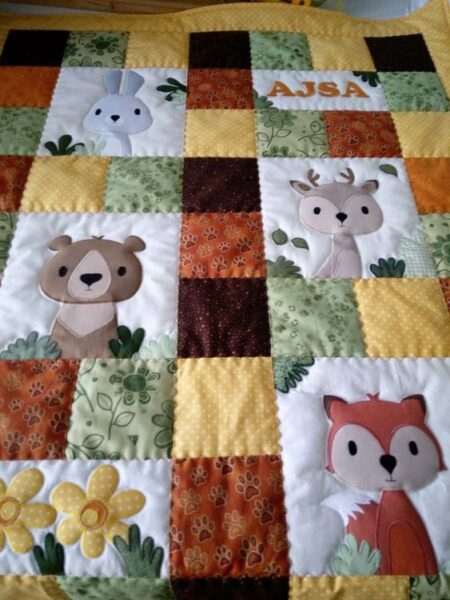
INSPIRATIONS: