


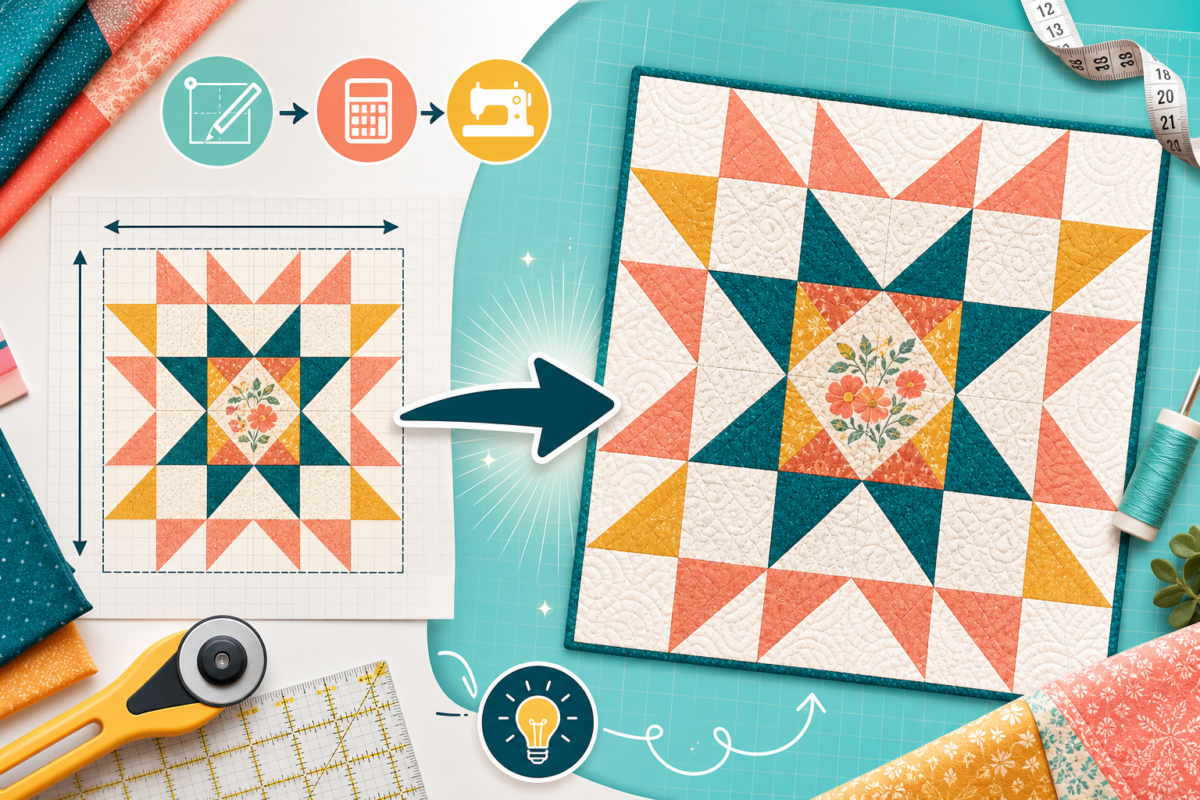
You see the perfect quilt pattern—except it’s sized for a twin bed when you need a queen, or you fall in love with a throw but want a crib quilt for a new baby. Suddenly, you’re wondering if those blocks will look weird once you change the size, or if there’s any risk of running out of fabric halfway through.
I’ve been in that exact spot, double-checking the math and redrawing blocks, hoping the final quilt will actually fit the bed.
Here’s how it really works: you figure out the scale factor by dividing your target size by the original pattern’s size. Apply that number to the block measurements and fabric calculations—but don’t scale the seam allowances, just add them back after you finish the math.
Once you’ve walked through this process a couple of times, resizing a quilt becomes second nature, not a guessing game.
What is a Scale Factor and How Do You Find It?
The scale factor is your main tool for resizing. It tells you exactly how much to enlarge or shrink your quilt to get the dimensions you want.
To find it, just divide the finished measurement you need by the finished size from the pattern. Say the original quilt is 60" x 80" and you want 90" x 96": divide 90 by 60, and you get a scale factor of 1.5 for the width.
Do the same for the length if you want it scaled equally. For square quilts, one number is usually enough.
Once you have the scale factor, you use it for everything: block sizing, fabric estimates, even recalculating borders and sashing. It’s the key that keeps every part of the project in proportion.
Should You Make Blocks Larger or Add More Blocks?
The first decision is whether to change the block size or the block count. Both approaches work, but each gives a different look.
If you want to keep the original arrangement and proportions, scale each block by your factor. This way, the layout and pattern remain the same, but the blocks themselves become bigger or smaller.
If you like the current block size—maybe a 12" block just looks right—you can add more rows or columns instead. That adjusts the quilt’s overall size without stretching the design. Sometimes, though, the math doesn’t land perfectly; you might end up with a quilt that’s a bit larger or smaller than you planned, or you’ll need to tweak the border.
From what I’ve seen, combining both options often gives the best fit. Sometimes I’ll bump up the block size a little and add an extra row, which helps everything come together cleanly.
How Do You Adjust Fabric Needs When You Change Quilt Size?
It’s not just about blocks—you need enough fabric, too. This is where a bit of quick math saves you from scrapping for matching fabric later.
Here’s the trick: your fabric requirements change by the square of your scale factor. If the pattern calls for 2 yards and you’re using a scale factor of 1.5, you’ll actually need 2 x (1.5 x 1.5) = 4.5 yards. Always check the original pattern and use this method to recalculate what you’ll need.
This approach covers the main quilt top fabrics. For backing and binding, measure your new quilt size against the fabric width you plan to use.
You might need to piece the backing differently or buy more yardage. If the math gets messy, check your fabric width and use a calculator, or ask for help at the quilt shop.
Dica importante: When in doubt, buy a bit more fabric—especially if you’re working with directional prints or detailed piecing. Extra fabric is far less stressful than discovering you’re short near the end.
Why Seam Allowances Matter So Much When Resizing
A common mistake is accidentally scaling the seam allowance along with the block. Seam allowances need to stay fixed—usually ¼ inch—no matter how big or small your blocks get. If you skip this, your finished blocks can end up the wrong size.
Here’s what works for me: subtract the seam allowance from the original cut size before multiplying by the scale factor. If you have a square that finishes at 4", it’s typically cut at 4½". Remove the ½", scale the 4", then add ½" back to the new measurement for your seam allowance.
Different shapes need different seam extras. For squares and rectangles, add ½". For half-square triangles, add ⅞".
Quarter-square triangles use 1¼". This step is easy to overlook, but it keeps your piecing accurate and your blocks lining up just right.
I learned this lesson in a group project. I resized a block without adjusting for the seam allowance, and my finished block ended up almost an inch too small—it threw the whole row off. That was all it took for me to start double-checking this every time.
What Calculators or Tools Make Quilt Resizing Easier?
If you’d rather not crunch numbers by hand, there are digital quilt calculators that let you enter your original and desired sizes. You can scale by percentage, new dimensions, or by type—like throw or queen.
These calculators handle the basic math for you, providing new block sizes and fabric estimates. Some let you adjust block count, others keep it fixed. Just double-check if the calculator accounts for seam allowances or if you’ll need to add those back yourself.
Personally, I use a calculator for the initial numbers, but I always review border sizes, sashing, and specialty blocks by hand. That mix of tech and hands-on checks has saved me from odd surprises more than once.
Resumo rápido: Calculators are great for a head start, but always review seam allowances and border math yourself to avoid errors.
What Quilt Parts Need Attention When You Change the Size?
Resizing a quilt means more than just new block measurements. Before you cut any fabric, go over every part of your design to avoid last-minute headaches.
Start by checking block sizes and counts. If you’re scaling blocks, make sure you adjust every block the same way.
For sashing—the strips between blocks—you’ll need to choose whether to resize their width or keep it as in the pattern. Borders can be scaled, kept the same, or even customized—just make sure you recalculate the fabric needed for them.
For backing and binding, compare your new quilt size with your fabric’s width. Since fabric widths don’t change, you might need to rethink how you piece the backing or how much to buy, especially for larger projects. If you’re unsure, use a fabric calculator or ask a fellow quilter for help.
Many experienced quilters keep a checklist: block size, block count, sashing width, border width, backing, binding, and fabric amounts for each color or print. Spending a few extra minutes checking these details upfront can save hours later.
Ready to Try Resizing Your Own Quilt Pattern?
Once you’ve worked through the calculations and made your design decisions, adapting a pattern feels much less intimidating. The key steps—finding your scale factor, choosing whether to adjust block size or count, recalculating fabric, and keeping seam allowances fixed—set you up for a project that fits your needs.
Have you ever changed a quilt pattern for a special gift or project? Which part of the resizing process tripped you up or gave you the most satisfaction? Share your experience in the comments!
Disclaimer: This article is for general information only and does not replace advice from a professional quilting teacher or pattern designer.