Making your first quilt can be an exciting and rewarding experience. A quilt is a quilted quilt that is constructed with layers of fabric, quilting, and trim. Here’s a step-by-step guide to help you get started on your quilting adventure.
Choose a design and pattern: Decide what type of quilt you want to make. It could be a traditional quilt, a modern project, or even a themed quilt. Then choose a pattern that is suitable for beginners, with clear and simple instructions.
Gather the materials: You will need fabrics, acrylic blanket, thread, scissors, ruler, pins and a sewing machine. Choose fabrics that blend well with each other and with the aesthetic you want for your quilt.
Cut the fabrics: Using a ruler and scissors, cut the fabrics into squares or rectangles, according to the size indicated on the pattern. Be sure to cut the fabrics precisely, keeping the measurements correct.
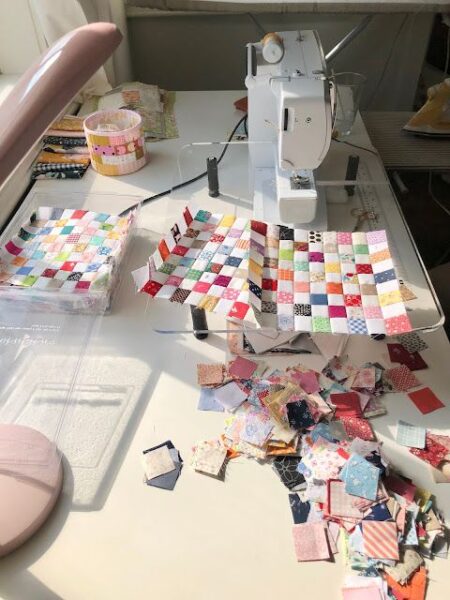
Assemble the quilt top: Arrange the cut fabric pieces according to the pattern design. Pin them together and then sew them together on the sewing machine. Continue adding pieces until the top of the quilt is complete.
Prepare the acrylic blanket: Cut the acrylic blanket to the same size as the top of the quilt. Make sure the blanket is even and flat before proceeding.
Quilt: Lay the top of the quilt right side up. Then place the acrylic blanket on top. Pin the layers at regular intervals to prevent slipping during quilting.
Quilt the layers: Use the sewing machine or quilt by hand to join the layers together. You can make straight lines, patterns or any other design you like. Remember to leave adequate seam allowances along the edges.
Add the trim: Cut strips of fabric to make the edge of the quilt. Fold them in half, iron them, then sew them around the quilt. Make sure the edge is even and free of wrinkles.
Hem: Fold the edges of the quilt inward about 1/2 inch and sew by hand or machine. Make sure the seams are neat and the hem is tight and clean.
Finish and admire your first quilt: Trim the loose threads, give the quilt a final touch, and admire your masterpiece! Your first quilt is ready to be worn or proudly gifted.
Remember that quilting is a skill that takes practice and patience. Your first quilt may not be perfect, but it is an important milestone in your quilting journey. As you gain more experience, you’ll be able to hone your techniques and experiment with more complex projects.
Here are some additional tips to help you on your quilting journey:
Start with a smaller-sized project: Making a smaller-sized quilt, such as a throw pillow or table runner, can be less intimidating for beginners. This will allow you to familiarize yourself with quilting techniques before embarking on a larger project such as a quilt.
Pre-plan: Before cutting the fabrics, sketch the quilt design on paper or use a quilting design program. This will help you visualize how the fabrics will fit together and make more informed decisions about color and pattern combinations.
Learn from available resources: There are many books, online tutorials and workshops dedicated to quilting. Take advantage of these resources to learn new techniques, gain inspiration, and improve your skills. Join local or virtual quilting groups to share experiences and get advice from fellow quilters.
Don’t be afraid to make mistakes: Quilting is a creative process, and mistakes can happen. Look at every mistake as an opportunity to learn and grow. If you make a mistake, try to find creative solutions to correct it or incorporate it into the design.
Have fun and be creative: Quilting is a form of artistic expression, so have fun with it! Don’t be afraid to experiment with bold colors, unusual patterns, or alternative techniques. Follow your creative instinct and let your personality shine through in every quilt you make.
Remember that every quilt you create will be unique and special, reflecting your talent and dedication. As you gain confidence and experience, your quilting skills will continue to improve, and you’ll be able to embark on more challenging and creative projects. Enjoy the creation process and be proud of your achievements as you build your handmade quilt collection.
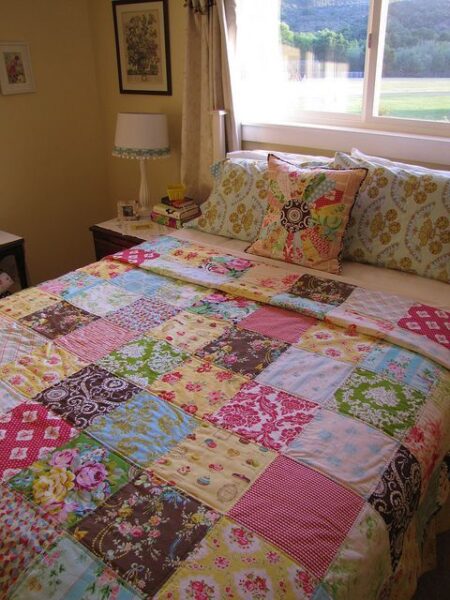
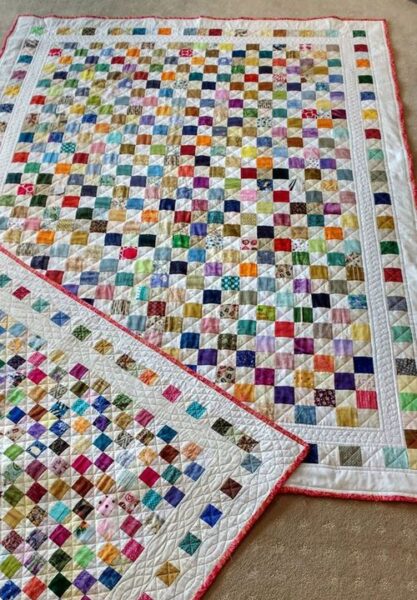
INSPIRATIONS: