
You spot a beautiful craft project online, get excited, buy the supplies, and a few steps in, you’re stuck. That once-simple tutorial now feels like a puzzle with missing pieces.
The yarn tangles, glue ends up everywhere except where it should, and your enthusiasm fades fast. Few frustrations sting more than being sidelined by a project you thought would be relaxing, especially when you’d hoped to end the afternoon with something to show for your effort.
From what I’ve seen, the most common trap for beginners is picking projects based only on looks, without considering what skills you actually have. I’ve spent hours fighting with advanced sewing patterns, giving up halfway when it was clear I wasn’t ready.
What makes crafting enjoyable, not overwhelming, is making sure the project fits what you know, what you want to learn, and using forgiving materials that let you make mistakes without spoiling the whole thing.
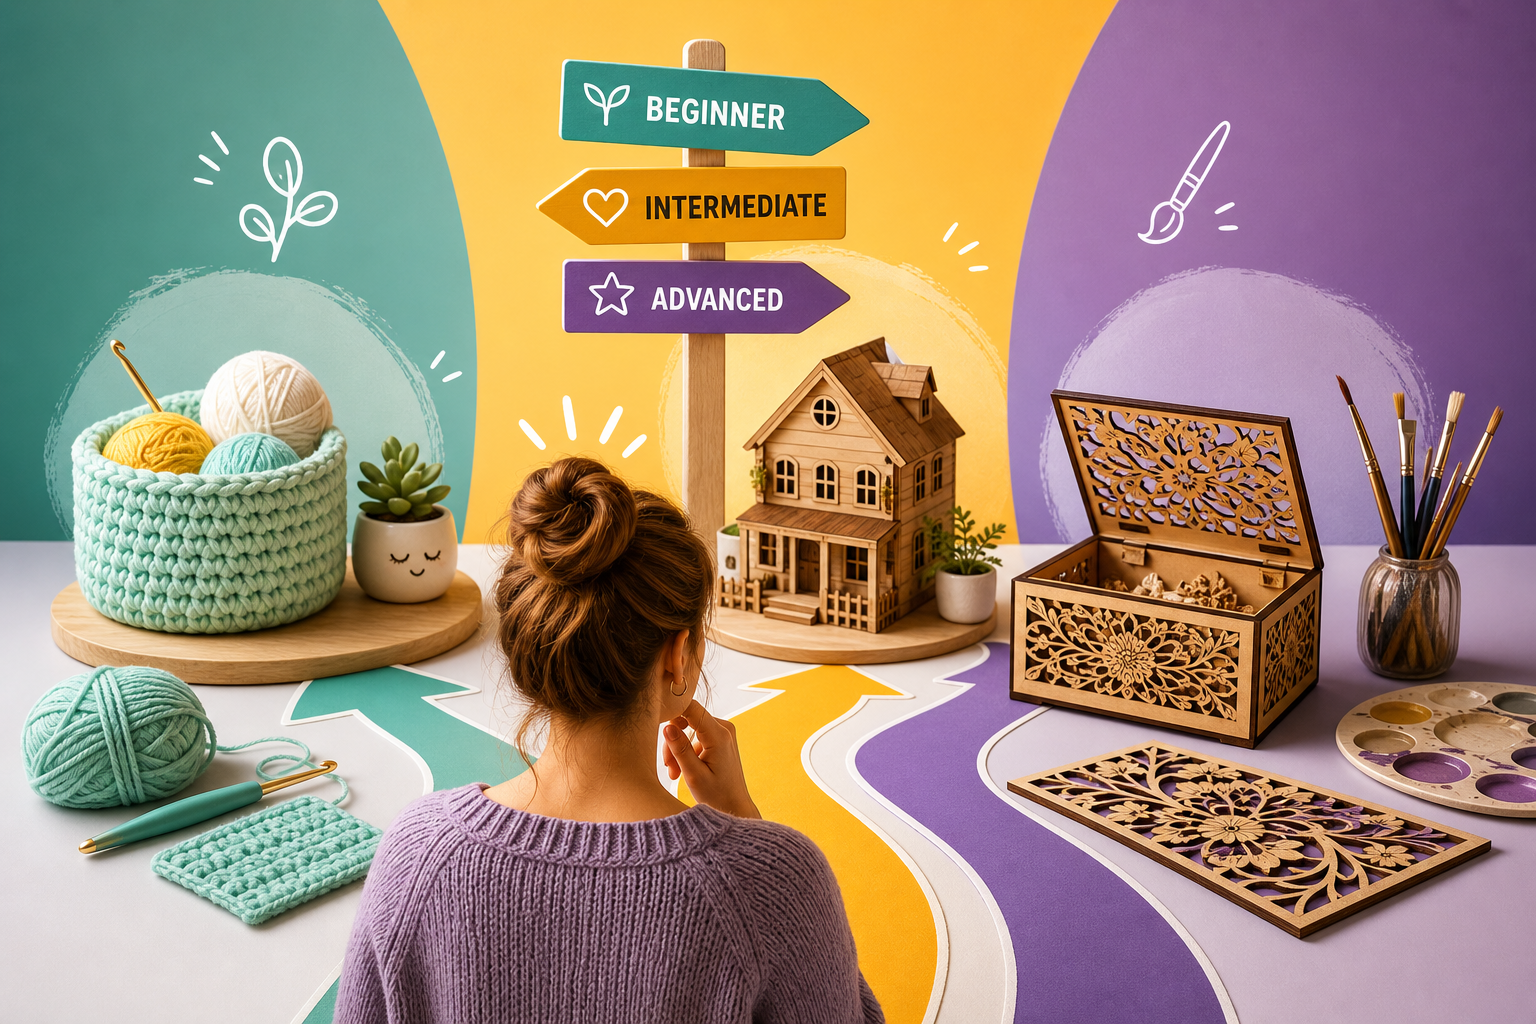
If you want to know How to Choose the Right Craft Project for Your Skill Level, start by honestly figuring out if you’re a beginner, intermediate, or advanced crafter. Then look for projects that introduce just one new challenge at a time, use easy-to-replace materials, and pay attention to any official skill-level labels.
A simple planning checklist before spending time or money saves you a world of frustration.
What Are the Main Craft Skill Levels?
Knowing craft skill levels isn’t about status or labels. It helps prevent frustration, so you can actually enjoy learning.
Beginner projects are made for folks just starting out, or for anyone wanting to practice the basics without pressure. Picture simple hand embroidery with straight stitches, basic granny square crochet, small needle-felted shapes, papercraft, or working with air-dry clay for the first time.
These projects usually have clear instructions and accessible supplies, so making mistakes doesn’t set you back much. They’re perfect for building confidence and getting used to working with your hands. If you’ve never threaded a needle, a small embroidery piece is a low-cost, low-stress way to start.
Intermediate projects ask for a bit more concentration and some new skills. Sewing a simple skirt, crocheting a hat with shaping, filling in an embroidery pattern with different stitches, using polymer clay, or making jewelry all require following a pattern, handling materials that act differently, or learning new techniques.
It’s a step up, but you don’t need years of experience.
Advanced projects are for those who have the basics down and want something more demanding. That could mean sewing detailed clothing, embroidering full scenes, sculpting with felt, crocheting complex garments, or tackling technical DIY builds. These often involve more steps, more ways to fix mistakes, and specialized tools.
Figuring out where you stand helps you avoid half-finished projects and makes learning feel lighter. If you’re not sure, try something from each level and see which one feels right. Sometimes, a project you think is advanced turns out to be easier than expected—or vice versa.
How Does the Craft Yarn Council’s System Help You Choose?
You’ve probably seen the little bars or squares on yarn labels and craft patterns. Those aren’t just for show.
They’re part of the Craft Yarn Council’s four-level system, designed to make it easy to see a project’s difficulty at a glance. The symbols go from one to four shaded bars: one means beginner, two means easy, three is intermediate, and four is for experienced crafters.
This simple system has caught on even outside of knitting and crochet. If you spot a project with one shaded bar, expect straightforward instructions, basic stitches, and materials that are easy to fix or swap.
Two bars bring a bit more challenge, like color changes or simple shaping. Three bars mean you’ll need to read patterns, work with less common materials, or tackle more advanced techniques.
Four bars? Plan on spending more time, using specialized tools, and working through a lot of detailed steps.
What helps me the most is the clarity. If I see a three-bar project, I know to set aside extra time, be patient, and maybe watch a video on a tricky stitch before I begin.
One-bar projects are ideal for relaxing, making gifts, or teaching someone new. When I’m torn between two levels, I pick the easier one—finishing always feels better than getting stuck halfway.
Designers making tutorials, books, and classes use this rating more and more. Crafters rely on these bars as a roadmap when choosing what to make next. It’s an easy way to match your skills to the project and avoid surprises.
A project that fits your skill level shares a few practical traits. Look for accessible materials that are easy to replace. If you make a mistake, it’s no big deal—restocking glue, felt, or basic yarn is cheap and doesn’t require a special order.
It’s also wise to pick projects focused on one main technique. For example, stick with crochet or embroidery, instead of trying to learn both at once. When a project throws too many new things your way, it’s easy to get overwhelmed and stuck.
Visually, even simple projects can look great when finished. A straight crocheted scarf, a small felted animal, or a basic embroidered design doesn’t need fancy details to be satisfying. Being able to adjust the size or colors as you go is a bonus—if you’re not thrilled with the result, you can tweak it without losing progress.
Tools make a difference, too. Projects that only need basic scissors, a regular needle, or craft glue are much friendlier when you’re still building confidence. I learned this firsthand: when I tried jewelry-making with specialized tools, my interest vanished fast—the hassle of hunting down every gadget took all the fun out of it.
Important tip: Always check if you can easily restock your supplies. A beginner-friendly project shouldn’t trap you if you make a mistake or want to redo something, so you can enjoy the process without pressure.
How Do You Plan a Craft Project That Matches Your Skill?
Planning is what separates finished crafts from abandoned ones. I’ve lost count of how many times I forgot a key supply and had to pause in the middle of a project. That’s why having a basic checklist before you start is so helpful.
First, decide exactly what you want to make—a scarf, a wall hanging, a mini tote bag. Having a clear goal stops the project from dragging on forever.
Next, pick a color palette. Limiting your choices makes shopping easier and the finished product more put-together.
Once that’s settled, gather all your materials before you begin. You’ll be surprised how much smoother everything goes when you don’t have to stop and search for something halfway through.
If possible, test a small part—try a few embroidery stitches, crochet a swatch, or make a tiny clay sample. This shows you where problems might pop up and gives you a sense of the steps.
Set a firm “done” point for your project. That could mean a certain size, number of pieces, or a specific effect. Deciding this upfront makes it easier to finish and feel proud of what you made.
Quick summary: Choose your project, pick your colors, gather your supplies, test a small part, and decide when it’s done. This habit makes any craft more manageable and shrinks your pile of unfinished projects.
Should You Try Multiple New Skills at Once?
It’s tempting to try every new technique you see online. But in reality, loading up a single project with lots of new skills usually creates more stress than progress. I learned this the hard way when I tried sewing and embroidering a dress from scratch—I didn’t just leave it unfinished, I lost interest in both crafts for a while.
The smarter move is to add one new technique at a time. If you’re new to crochet, for example, start with a simple piece before combining crochet and embroidery.
Once you’re comfortable with the basics, then it makes sense to mix skills or add complexity. This way, each challenge feels manageable and you’re much less likely to give up.
Mistakes are part of learning, but when everything is new, it’s tough to figure out what went wrong or how to fix it. By focusing on one new skill per project, you’ll see yourself improve and gain the confidence to try more difficult things next time.
This isn’t just my experience—the Craft Yarn Council reports that gradual, step-by-step learning leads to more satisfaction and fewer abandoned projects. Real progress makes crafting a rewarding habit instead of a source of stress.
Ready to Start Your Next Craft?
Choosing projects that fit your abilities makes crafting something to look forward to, not dread. Paying attention to skill level ratings, planning with a checklist, and learning one new thing at a time can completely change your creative experience.
Now it’s your turn: which project will you try next with these tips? Have you ever found a craft surprisingly easy or unexpectedly tricky? How do you pick what to make?
This content offers general guidance and doesn’t replace help from a qualified instructor if you need hands-on support.