
You finally find that free crochet pattern for a scarf, pillow, or blanket, and you’re excited to start. Yarn and hook in hand, you sit down, only to be faced with a jumble of letters, numbers in parentheses, and strange symbols.
The instructions seem to speak their own language. If you’ve ever felt lost reading “SC in 5 sts, DC, CH 2, skip 1, repeat from * to * to end,” you’re far from alone—every beginner has been there.
The best way to crack this code is to start at the very top of the pattern. That’s where you’ll find the list of materials, the stitch gauge, and the abbreviation key. Then, work through each row carefully, paying special attention to repeated sections and always checking the stitch count in parentheses at the end of each row.
Learning the most common abbreviations and using the stitch count as your checkpoint transforms crocheting from a source of frustration into something genuinely satisfying. Once you get the hang of the structure, everything clicks.
I only felt truly comfortable after finishing a project without getting lost—it felt like unlocking a new superpower. You’ll get there too.
The top of the pattern is where everything starts—and it’s also where most mistakes can be avoided. The header usually lists the type and amount of yarn, the recommended hook size, and sometimes even color suggestions.
Skipping this seems harmless, but it makes a real difference. Using a different yarn or hook can change the size and drape of your project completely.
Next, check for the gauge section. This is usually a measurement that tells you how many stitches and rows make up a 4-inch square, for example.
It’s not just a formality. If your gauge doesn’t match what’s recommended, your final piece might end up too tight or too loose.
I learned this lesson the hard way—skipping the gauge check led to projects that didn’t fit or looked off.
Don’t forget the abbreviation key. This is your translation guide for the pattern’s shorthand, explaining codes like “HDC” (half double crochet) or “YO” (yarn over). Some patterns also include notes about special stitches, whether the turning chain counts as a stitch, and how to finish off the piece.
Dica importante: Read the pattern’s header before making a single stitch. This helps you avoid headaches, like realizing halfway through that you picked the wrong yarn or hook for the result you wanted.
What are the most common crochet abbreviations, and what do they mean?
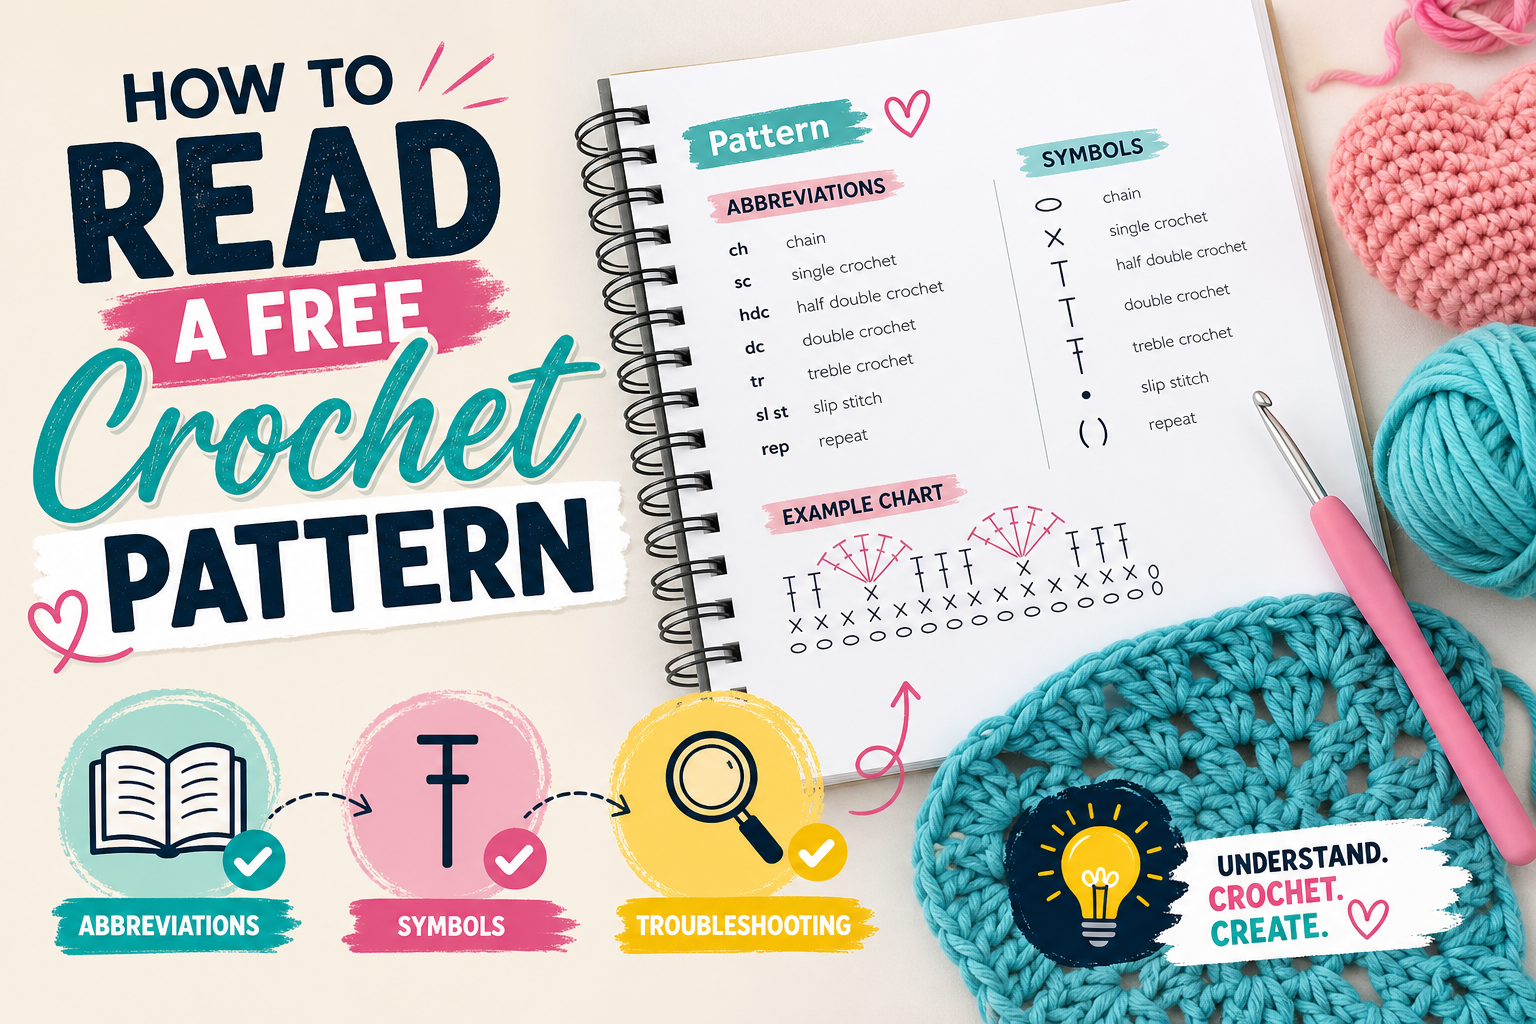
Crochet has its own language—about 15 abbreviations show up in almost every beginner pattern. You’ll see CH (chain), SC (single crochet), DC (double crochet), HDC (half double crochet), SL ST (slip stitch), YO (yarn over), SK (skip), INC (increase), DEC (decrease), RND (round), ROW (row), REP (repeat), BEG (beginning), ST/STS (stitch/stitches), and ALT (alternate).
At first, it feels like alphabet soup. But once you keep a cheat sheet handy, it quickly becomes second nature.
For example, “CH 8” just means make eight chains. “SC in 5 sts” is single crochet in the next five stitches. Whenever you see “REP from * to *,” just repeat the section between the asterisks.
Most patterns explain any less common abbreviations in the intro or footnotes. Once you know these fifteen, you’re set to understand 90% of beginner projects.
Resumo rápido: Print or jot down a list of these abbreviations and keep it nearby for your first projects. With practice, you’ll recognize each code without even thinking.
How do you decode the condensed language of a crochet pattern?
Crochet patterns are written to save space, so they’re packed with abbreviations and symbols. The first thing to know is that abbreviations always replace the full stitch names. Instead of writing “double crochet,” you’ll see “DC.” For “half double crochet,” it’s “HDC.”
Repeats are marked with asterisks (*) or brackets [ ]. If you read “DC, CH 2, SK 1, SC, repeat from * to * six times,” that whole sequence is done six times in a row. Brackets work similarly—they group actions that should be repeated as a block.
Parentheses have two main uses: sometimes, they show all stitches worked into the same space of the previous row; other times, they indicate size options. For example, “(for size S, make 12 sts; for M, 14 sts).”
When you’re tackling a pattern, just go line by line. Spot which stitch abbreviation to use, look for repeat symbols, and check for extra instructions in parentheses for sizes or groups. After a while, the pattern starts to feel like a recipe—with ingredients (stitches) and repeated steps (mix, fold, repeat!).
I've had to reread rows more times than I can count just to figure out where a repeat started and ended. Don’t hesitate to use a pencil or physical markers while you’re learning.
How can you tell if a pattern uses US or UK crochet terms?
This detail can save your project from turning into a confusing mess. Many people don’t realize that some stitches have different names in American (US) and British (UK) terms. The classic example: “DC” means double crochet in the US, but in the UK, it stands for treble crochet—the US equivalent of “tr.”
Patterns usually mention this in the header or notes, but not always. If it’s not obvious, check the stitch examples or the abbreviation list.
Another way is to test a gauge swatch: follow the sample row using US terms. If your stitch count matches what the pattern says, you’re most likely dealing with an American pattern.
If not, try British terms.
I’ve seen plenty of beginners get discouraged because their project didn’t turn out as expected—just because of this hidden difference in stitch names. When in doubt, look up where the pattern originated or ask in crochet groups. Catching this early can save you a lot of rework.
How do you use stitch counts to check your work?
At the end of almost every row or round, you’ll see a number in parentheses—that’s the total number of stitches you should have finished. For example, “(18 sts)” means you need to have made 18 stitches after following that row’s instructions.
This is your best tool to catch mistakes early. If you finish a row and the count doesn’t match, you can fix it before moving on. Being off by just one stitch can throw off your design, mess up increases or decreases, and make it hard to assemble the final piece.
Some patterns will clarify if the turning chain does or doesn’t count as a stitch. If your count is off, check the notes at the start before ripping anything out. Over time, counting stitches at the end of each row becomes a habit—and it saves hours of unraveling.
Personally, double-checking at the end of every row has saved me from having to redo huge sections of a blanket. It’s a simple step, but it’s what keeps your project on track.
What should you do if you get lost or stuck in a pattern?
Even if you know the abbreviations, it’s normal to get stuck on a confusing row. Start by going back and reviewing the abbreviation list—maybe there’s a new code or a special stitch you haven’t seen before. If you’re still stuck, look up a video or illustrated tutorial for that stitch.
Another practical trick is to count your stitches at the end of the row and see if they match the pattern. If they don’t, try reading each instruction out loud or writing the steps separately. Sometimes, changing how you process the information helps things click.
If you’re still having trouble, try asking for help in online crochet groups. There’s always someone who’s run into the same issue and can offer a quick solution. Early on, I thought asking for help meant I was failing, but I soon realized the crochet community loves to teach and share tips.
Dica importante: If you’re feeling really frustrated, put your crochet down for a few minutes. Coming back with a fresh mind often makes the tricky parts much easier to solve.
Ready to tackle your next crochet pattern?
No one is born understanding abbreviations or repeats—everyone feels lost their first few tries. With practice and attention to each row, you’ll get the hang of it.
Before I finished my second project, those “magic formulas” didn’t intimidate me anymore. I just followed the steps and trusted the process.
What free pattern are you planning to try now that you know how to break down each line with confidence? Remember, nobody masters crochet after just one read—every project teaches you something new.