

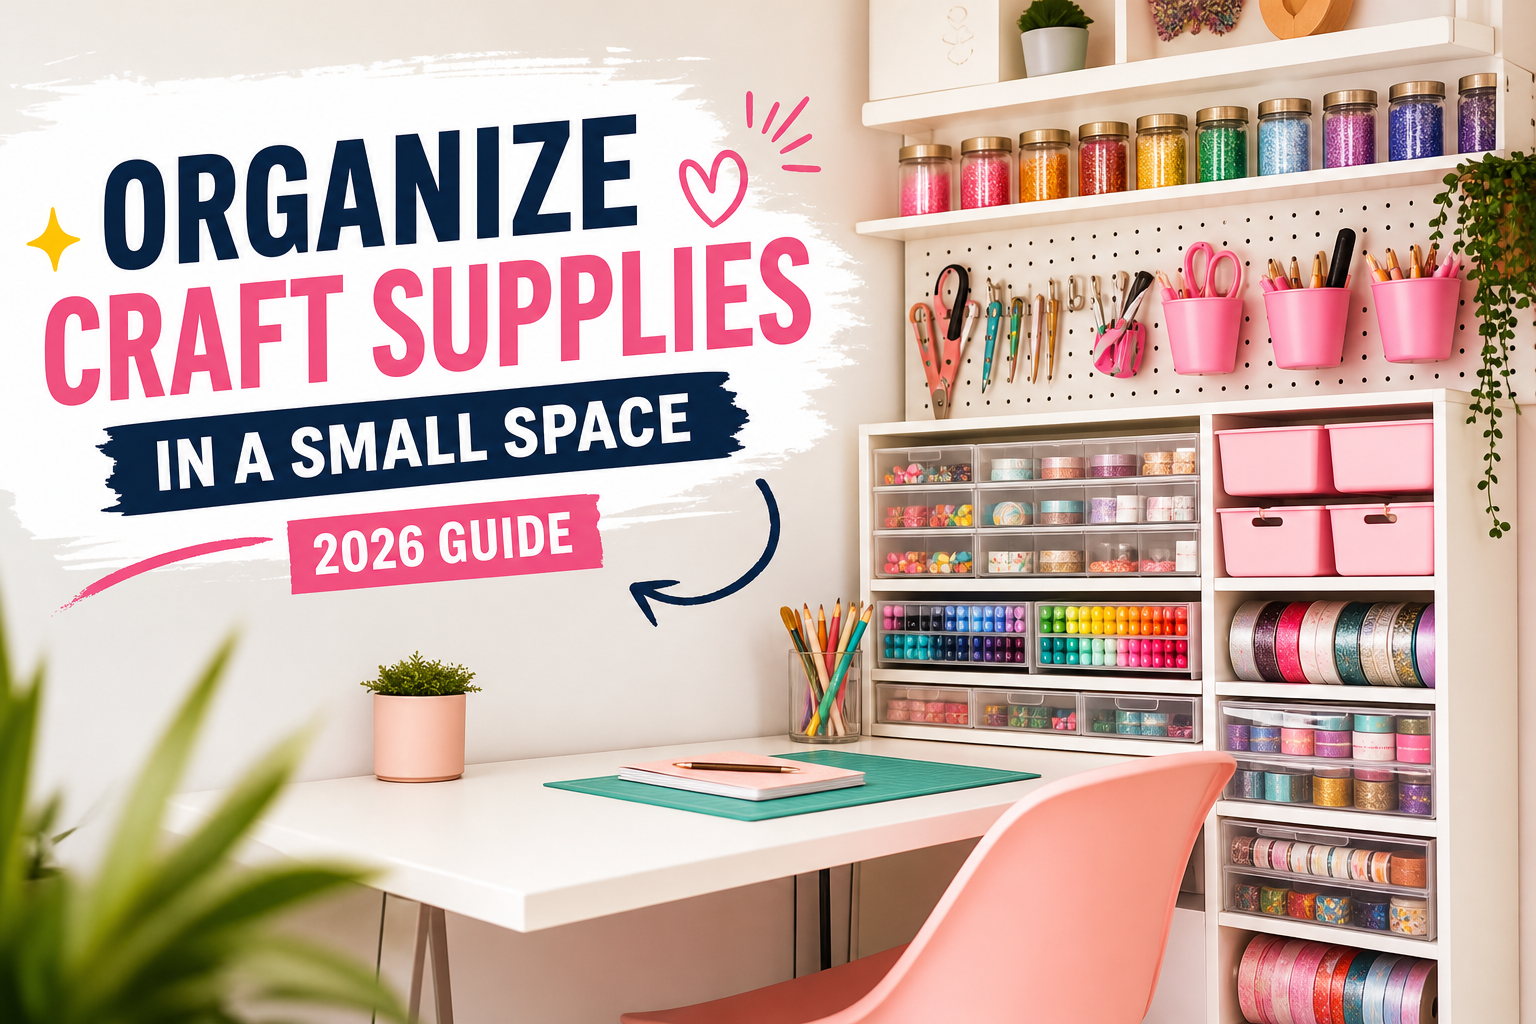
Some days, it feels like creativity is trapped beneath piles of yarn, stray beads, and half-finished projects. Maybe you reach for a container under your bed and suddenly a mess of ribbons, glue sticks, and markers you forgot tumbles out.
If your craft station is just a bedroom corner or a spot at the kitchen table, the chaos can zap your motivation before you even start. The fastest way to bring order to craft supplies in a small space is a focused 30-minute declutter, keeping only what you actually use, and grouping everything by type in clear, portable bins or on wall organizers.
Visible storage and a “one-in, one-out” habit make it much easier to stay organized.
I’ve tried cramming an expanding stash onto a single closet shelf. When you can’t find your favorite paintbrush or the right marker cap, it’s frustrating. But once I landed on a system that worked with my habits and my space, even a tiny corner felt like a true creative nook.
Start with a quick sort—not a marathon cleaning session or a complicated system. Set a timer for 30 minutes.
Go through your supplies and sort them into four piles: Keep, Donate, Trash/Recycle, and Unsure. Don’t overthink every item.
If you haven’t touched it in a year, have duplicates, or didn’t even know you still owned it, move it to Donate or Trash/Recycle.
You don’t have to toss out sentimental treasures or unique supplies. The point is to clear space for what inspires you now.
For anything you can’t decide about, drop it in a box labeled “Unsure” and revisit it in a month. In my experience, most people realize they don’t miss what’s out of sight.
Dica importante: Limiting yourself to a 30-minute session makes the process manageable and helps avoid burnout. Even a single round can make your craft stash feel lighter.
What Storage Containers Work Best in Tight Spaces?
Once you’ve trimmed your supplies, choose storage that suits both your space and your routine. If you need to stash things under the bed or in a shared closet, a portable “craft-in-a-box” setup is a lifesaver.
A 12–16 qt latching plastic bin (usually $6–$12) holds plenty of small projects, from knitting kits to paper crafts, and is light enough to pull out or put away in seconds.
Photo storage cases with 4×6 sub-cases (often $12–$25) are excellent for beads, buttons, or embroidery floss. Their uniform size makes stacking and storing them simple, using every bit of available space.
If your supplies travel from room to room, pick a lightweight container or modular toolbox. The trick is to use bins that are clear and easy to carry, so you can always spot what you need without digging.
How Can You Store Small Items Without a Closet?
Tiny craft pieces multiply and can take over drawers and tables. If you don’t have a closet, the back of a door is fair game for storage.
An over-the-door shoe organizer (about $10–$20 for 24 pockets) turns unused space into a wall of see-through cubbies. Scissors, glue bottles, yarn scraps, and mini paint sets all fit perfectly in these pockets.
This trick has saved me hours in my own apartment. When supplies are grouped by type—acrylic paint in one row, adhesives in another—you can grab what you need in the middle of a project without losing momentum.
If you’re short on doors, stick-on hooks on the side of a dresser or shelving unit can hold rulers, tape, or even spools of thread. These renter-friendly ideas don’t require any tools and can be moved anytime you want to rearrange.
What’s the Best Way to Use Wall Space for Storage?
When shelves and floor space run out, it’s time to look up. Walls are often overlooked, but they’re perfect for getting supplies off surfaces and into plain view. A 2×2 ft pegboard or a few adhesive hooks (each about $10–$20) can hold scissors, rulers, tape, and even baskets for bulky materials.
You don’t need a dedicated craft room—just a patch of wall near a desk or bed can fit a pegboard or a narrow shelf. Tall, slim bookcases or craft towers also let you store more without taking up much floor space. Group your materials by category: paints on one shelf, yarn on another, tools in the center.
Resumo rápido: Vertical storage lets you see your favorite supplies at a glance, saving time and keeping your workspace inviting.
Folding craft cabinets are another smart option. When closed, they look like regular furniture. Open them up, and you get a workspace with built-in cubbies—ideal for apartments or multipurpose rooms.
How Do You Keep Supplies Accessible and Tidy?
Quick access is key when inspiration strikes. Portable options like rolling carts ($30–$60) or shallow drawer units ($15–$30) are great if you move between rooms or need to tidy up fast. Shallow drawers help you see what’s inside, so you don’t end up with a “mystery bin” of forgotten supplies.
Modular toolboxes or sturdy picnic baskets make it easy to sort supplies by project. You can prep a kit for each craft—knitting in one, scrapbooking in another—and grab what you want right away.
A rolling cart next to your desk or couch can serve as a mobile studio. If you share your space, just roll it into a closet or corner when you’re done and your area stays neat.
Why Are Clear Containers the Smartest Choice?
Professional organizers recommend clear, matching containers for a reason. When you can see your supplies, you avoid buying duplicates or losing track of your best materials. Sorting by category—paints together, fabrics in another bin—keeps things tidy even when you’re working on multiple projects.
Opaque boxes and deep bins might look tidy, but they often become places where supplies go to disappear. If finding a paintbrush means five minutes of rummaging, starting a new project loses its fun.
Clear storage also means cleanup is quick. When everything has a visible home, putting it away doesn’t feel like a chore.
How Do You Keep Your Craft Space Organized Over Time?
Getting organized feels great, but the real work is keeping it that way. What helps me is sticking to the “one-in, one-out” rule: for every new supply, let one old item go. This keeps your stash manageable and helps you focus on materials you actually use.
Every month or so, check your “unsure” box and scan your bins. If a project’s been sitting untouched for months, consider donating those materials to a local school or art group.
Dica importante: Make cleanup part of your crafting habit. Before you finish for the day, spend five minutes putting everything back where it belongs. This small routine keeps clutter from piling up and saves you from future messes.
A few simple tweaks—a 30-minute declutter, portable bins, and smart use of walls and doors—can turn even a tiny spot into your creative retreat. Which organizing trick are you most tempted to try first? Or if you’ve discovered your own storage hack that made a difference, what would you add to this list?